Bidet toilet seat attachments are becoming very popular nowadays because of their usefulness and convenience. The good thing is that they can be used for many years.
However, there will come a moment wherein you need to replace it. Hence, you need to know how to remove a bidet toilet seat, as well as how to install a new one.
How to Remove a Bidet Toilet Seat
-
Step One – Disconnect the Water Supply
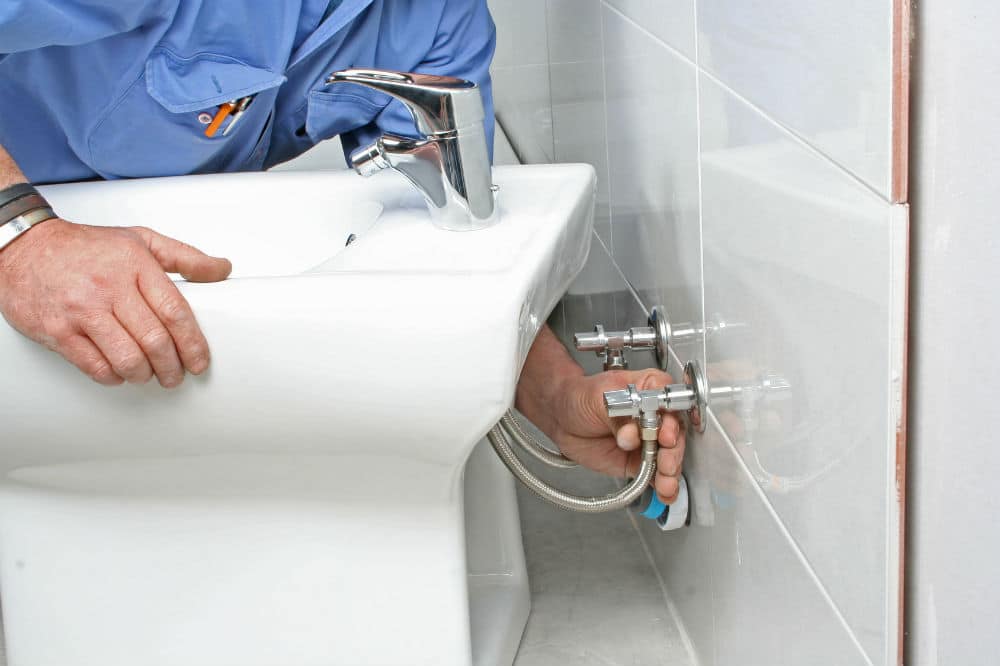
The first thing that you will need to do is disconnect the water supply from the bidet seat. In order to do such, turn the water supply off by turning the knob. After you’ve turned the water supply off, proceed with removing the water hose from the bidet seat and then from the T-connector.
If you are replacing your bidet seat with a traditional toilet seat, you will also have to remove the T-connector. Otherwise, you can leave the T-connector on. Next, you need to remove the hose connecting the water supply to the water tank.
After you’ve removed both water hoses connected to the T-connector, proceed with removing the T-connector as well. Once done, you can continue to step two.
-
Step Two – Remove the Bidet Toilet Seat
The next thing that you need to do is to remove the bidet toilet seat by simply sliding it off its mount. The mount has a locking mechanism, so you need to unlock it before it can come off.
Once you’ve unlocked the seat from the mount, the seat should easily slide off.
Once you’ve removed the bidet seat, you will see the mounting bracket. In order to take the bracket off, you will have to loosen the bolts on the sides. Look at the sides of the toilet and you should be able to find the bolts.
Use a flathead screwdriver to loosen the bolts in order to pull them out of the guide rails. Afterward, you need to remove the guide rails out of the holes. After which, the mounting bracket should come loose. Simply take the mounting bracket off and you should have a toilet without a bidet toilet seat.
Installing a New Bidet Toilet Seat
Almost all bidet seats are designed to be DIY installation, which is great because anyone can do it without needing professional help. Over 90% of all bidet users replace their toilet seats themselves. So, if you’ve been worried about the task, don’t worry. We will help you figure everything out.
In a nutshell, there are just three basic and simple steps. First you will remove the existing toilet seat (if you will start with a traditional toilet), then you will install the new bidet seat attachment, and finally, you will connect it to the water supply.
Let’s begin:
-
Step One – Remove the Toilet Seat
This step is for those who will be starting with a traditional toilet seat. Nevertheless, if you are just replacing your old bidet toilet seat, you may skip this step and just follow the “How to Remove a Bidet Toilet Seat” guide above.
After you’ve closed the seat’s lid, you will see two caps on both sides of the toilet. These screw caps cover the screws that keep the toilet seat in its place. With the help of a flathead screwdriver, pop the caps open to reveal the screws or bolt heads. Unscrew the bolts using the same screwdriver.
Once you’ve removed the bolts, merely lift the the toilet seat, and it should come off quickly. Now, you should be looking at your toilet without its seat. You should be able to see two mounting holes right behind the bowl.
-
Step Two – Mount The Bidet Toilet Seat
In order to install the bidet seat, you first need to install the mounting bracket that came along with the bidet seat. Installing the mount is quite simple. You just need to put the mount in its correct place with the holes on the mount aligned with the holes on the toilet.
Once you have the mount in its correct place, you should insert the rectangular-shaped guide rails. These will help keep the bolts in their place. Now, insert the bolts through the guide rails and the mounting holes. Once they are inside the holes, securely fasten the nuts underneath them.
Give the mounting bracket a little jerk to check if it is appropriately secure. Once secure, you should be able to slide the bidet on top of the mounting bracket. It should lock itself onto its place. Be on the lookout for a clicking sound, though it might not be the case for all bidet seats, so just move it around a bit to make sure it’s locked and secure.
-
Step Three – Connect the Water Supply
After the bidet seat is in its place, all that’s left is to connect the water supply. Look through the package, and you should find a T-connector, also known as a T-splitter. The T-connector splits your water supply into two directions. You want to redirect some of the water that is headed to the water tank into your bidet seat.
Let’s get to it. Peer behind the toilet and you should see a hose running from the water supply to the water tank. The hose refills your toilet’s tank after you’ve flushed it. First, you want to make sure you’ve cut the water supply. After you’ve turned off the water supply, unfasten the water hose and in its place attach the T-splitter.
Once connected, reattach the hose to the water tank. Now, you should have an additional opening for the bidet hose. Connect the bidet hose to the T-connector and attach its other end to the bidet.
Make sure all of the connections have been properly tightened. Now, open the water supply and check if there are any leaks. That’s about it. You have just installed your new bidet toilet seat.
Read also: Best Rated Bidet Toilet Seat
Conclusion
You can go ahead and connect your toilet to the water supply and replace the bidet seat with a traditional toilet seat or a new bidet seat. Whatever your reason for wanting to remove the bidet toilet seat, at least you know how to remove a bidet toilet seat as well as install a new one.


