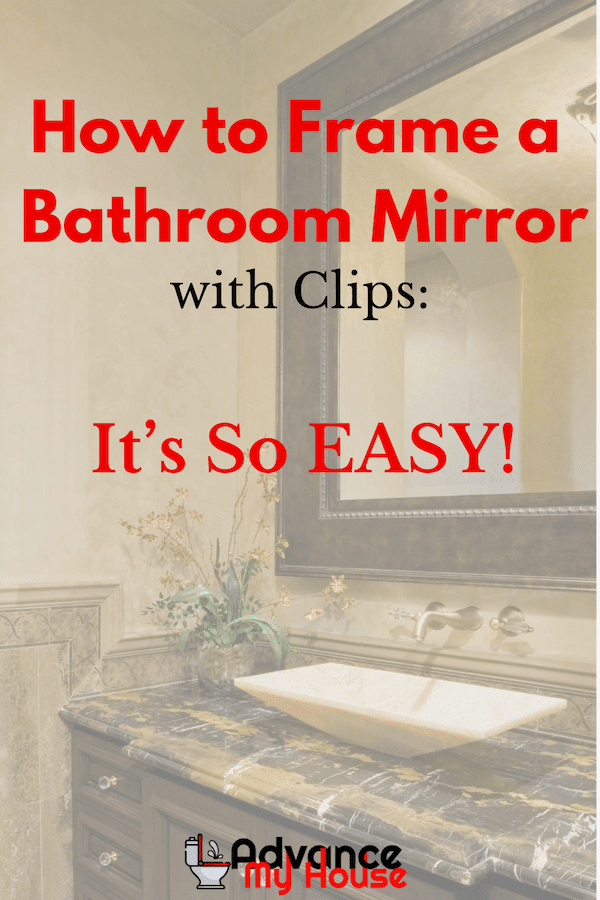
How to frame a bathroom mirror with clips? This question can really be daunting especially if you do not know anything about some home fixtures.
That is why a number of people tend to hire professionals just to mount their mirrors.
Clearly, there is nothing wrong with that, but if you are trying to save some of your money, do not worry since we have your back!
We will briefly talk about how you can frame your bathroom mirror by using clips. At the same time, we will enumerate the tools and equipment that you need so that it will look like a professional job.
Again, it might sound very technical, but we will guide you through the process.
How to Frame a Bathroom Mirror with Clips?
When it comes to giving your mirrors a permanent place in your house, a lot of people tend to go with the clip method because, overall, it looks cleaner and more polished. Not only that, it is more secure, so you will never fear that the mirror or wood pieces will fall on top of you while you are fixing it yourself. Below is a method that even beginners can follow.
The Things You Would Need
Before we discuss the easy steps, let us go over the things that you need. Some of these things might already be laying around in your house. For the other things though, you have to make a trip to your nearest hardware.
1. Wood Trim
Let us just talk about a specific thing that might pose a bit of a problem while going through the steps, and it is about the wood trim that you are going to use. As much as you want to focus on the aesthetics of the trim, you first should consider the corners of the mirror itself, especially since some corners just do not go well with pre-made trims.
What is the best course of action then? Go to the hardware store and ask the professionals about what trim to use.
We cannot stress how important this is because if you are not using a trim that fits the corners of the mirror, or there is a bit of leeway in between, the chances of the mirror sliding are huge (even if you followed everything from the top as well as secure everything in place).
2. Adhesive
Make sure to use a strong adhesive since it is usually the one that is used to hold everything together. If you use something that will eventually peel off, well you already know what will happen.
Thus, be on the lookout for adhesives that have the words “heavy duty” and “high grade.” For some brands, they also give the specific weight that the adhesive can handle.
3. Paint or Stain
It is actually recommended to use stain so that the real color of the wood can be accentuated, but if you want to use paint, that is also good. When you go with the latter, make sure that the paint can be easily removed when some of it splatters on the mirror.
More than that, make sure that the chemicals that are in the paint will not affect the clarity of the mirror.
4. Other Items
- Miter saw
- Chisel
- Utility knife
- Painter’s tape or regular masking tape
- Measuring tape
The Steps to Follow
Let us now move on to the main event which is how to frame a bathroom mirror with clips.
Step One: Measure
Using your measuring tape, measure the dimensions of the mirror. If you followed our tip regarding the wood trim, you would have these measurements ready. Make sure that you measure it as is and do not give a bit of an allowance.
Step Two: Cut
Cut the wood based on the dimensions and make sure that they are cut in a 45-degree angle. For those who really cannot cut wood in their homes, you can ask the people in the hardware to cut it for you. In this way, the ends will look cleaner.
Step Three: Mark and Carve
Map out where you want the clips to go and place the wood against the mirror and the clips, and then mark them using a pencil. Then, grab your knife and make some slices in the wood in between the marks.
Afterward, you can use a chisel to carve out that portion of the wood that already has slices. Using the knife before using the chisel to carve out the marked part makes it easier for you to remove the chunk of wood.
Step Four: Color
It is time to whip out your paint and paint the wood pieces. Make sure to cover each nook and cranny of the wood as sometimes, when it dries, the wood tends to absorb some of the stain or paint.
Step Five: Attach
Get your adhesive and attach them to the wood pieces. It is best to cover the entire piece with adhesive rather than putting adhesives in select places.
You can then place each piece of the wood where you want them to frame the mirror. For the pieces of wood to stay in place while the adhesive is drying, you can use tape to attach the wood to the mirror.
Read also: Mirror on a Rope ReflectXL Shower Mirror Review
Final Words
Those are the easy steps on how you can put a wooden frame to your bathroom mirror or any mirror in general. Definitely, there are shortcuts that you can do, like the pre-cutting of the wood in the hardware, and for those who really hate measuring anything, you can let the people in the hardware attach the wood pieces straight to the mirror.
However, this can be a bit of a hassle as you still have to transport the mirror (now with a wooden frame) from the store to your house.
Last but certainly not the least, do exercise caution while cutting the wood. Wear gloves and make sure that your fingers are out of the way. With that said, go and enjoy your good looking framed mirror!