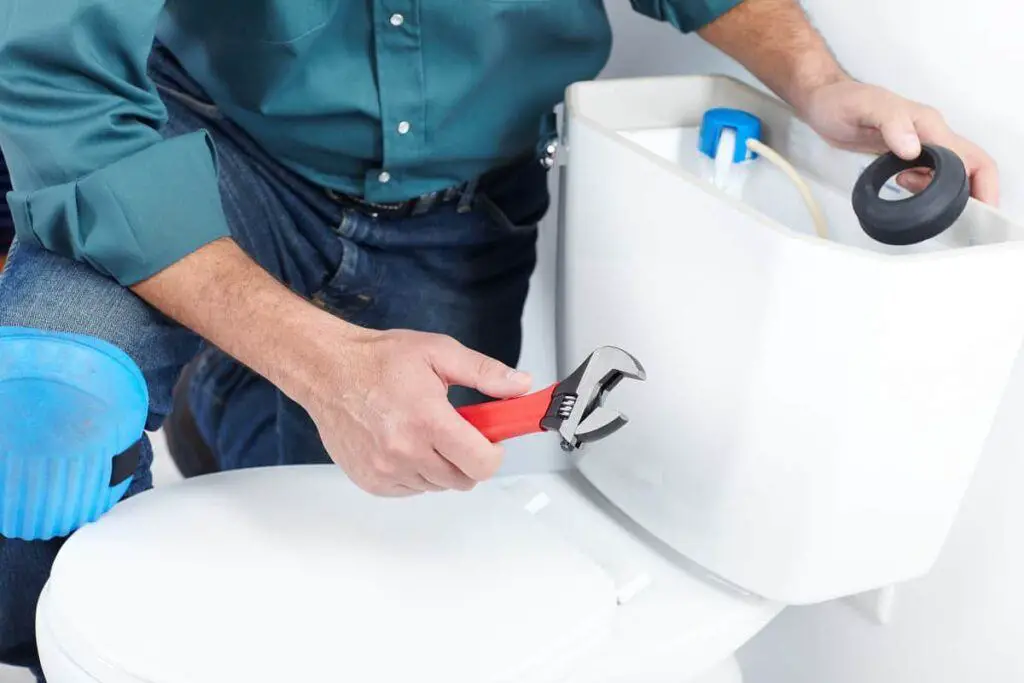
Fixing a toilet varies, depending on what type of toilet you own. While most toilets have a ball float, some do not; what kind you have will determine how to fix it.
Some of the problems of a leaky or running toilet can be a leaky flapper which can easily be resolved by buying a new one at your nearest hardware store.
Another common problem is float problems; this can mean the chain is too high which can result in an overflow tube.
And lastly, it can be a defective or broken fill valve which can result in an annoying noise your toilet makes every time you flush.
You can actually save money by learning how to fix your toilet by yourself, instead of deciding to seek professional help from a plumbing company right away.
In this blog, we will be discussing how to fix a running toilet with a ball float in a “Do It Yourself” style.
Tools You Need to Fix Your Leaky Toilet
- Philipps Head
- Flat Screw Driver
- Towel or bucket to prevent the water from spilling all over the floor
Steps on How to Fix A Running Toilet With A Ball Float
Shut the water off
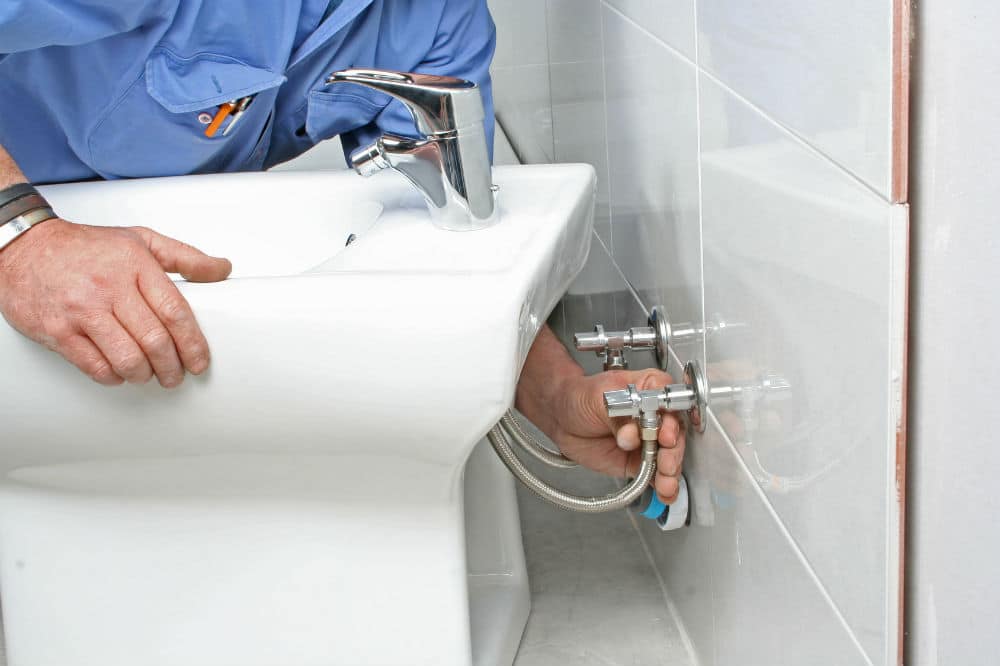
With your angle stop, just turn it a quarter of a turn. The last thing you want to do is disconnect the hose and have water spraying everywhere. Afterwards, take the lid off.
Loosen the hose
To avoid water on your bathroom floor from pooling, place a towel or a bucket directly below the hole from where the hose was attached; the water that will spill is just the water from the fill valve.
Whenever you have a running toilet, there are a couple of reasons behind it. It can either be because the flapper letting through the fill valve continues to fill up or the fill valve itself is broken.
Check the flapper
Look and examine the rim on it to check if the flush valve has any cracks. If so, you might need to change the flush valve.
To change a flapper, you just have to unhook it and disconnect it from the handle. If the fill valve is the problem, what you can do is just disconnect the screw.
This will adjust the water level on your ball float to make your fill valve stop filling. Once you get it apart, lift it, turn it, and pull it off.
Check your diaphragm valve for any debris inside; if there is, you can wash it with soapy water and rinse it really well.
Check the chain
Sometimes, we overlook the simplest of problems when it comes to a leaky toilet. The chain can be one of the common reasons why your toilet is running.
If the chain is too long then there is the possibility of it getting tangled under the flap. If it ends up being too long then take a plier and cut the excess chain and re-assemble it around the flapper again.
If it is too short then the flap will not close, so always make sure you have cut it to the right size for your toilet.
Flush out any trash or debris from the fill valve
To do this, just hook your hose back up and crack your angle stop back on. Let it flush the trash from the fill valve out.
Any debris or dirt will be pushed out and sometimes that alone can make your flushing easier to do.
After cleaning the fill valve just re-attach the diaphragm valve back to the fill valve.
Check the ball float
In most cases, people just lift the float and think that the problem is fixed and the noise is gone because of that, which is not the case at all. You actually need to place it lower.
Change your fill valve only if necessary
Changing your fill valve is not really a hard task to do. If you have already gotten the water drained out, which if you have checked your flapper that you have already got it down the bottom, you can take a big sponge or wet vac to absorb the rest of the water.
But if changing or cleaning the diaphragm valve does not make your fill valve stop from running, all you need to do is unscrew another part on the bottom.
It is important to keep your towel or bucket close because when you pull the fill valve up any moisture on the bottom is going to come out.
Re-assemble everything back
Starting from the fill valve, if you decided to change it to a new one, with your diaphragm valve attached to it already, what you need to do is adjust it to the same height as before.
Make sure the rubber washer is on the bottom, then slide it back in where it goes, and put the screw back on the bottom. After that, put your fill tube in.
Put your chain and flapper back into its position and make sure the ball float is not sinking below the water level. Attach the hose and turn the angle stop on.
Lastly, put the lid back on and turn your water back on as well. You can check and test it once the water starts to fill up inside.
Over time, the ball float and fill valve may become damaged or no longer functioning properly.
This is due to a number of reasons such as mechanical failure, corrosion from mineral deposits or chlorine damage from toilet bowl cleaners.
If the ball float supply valve no longer does its job, this can cause your toilet to be leaking and running, emitting that dreadful sound a toilet owner hates, both of which can continually overfill the tank with water.
In some instances, the ball float can become filled with water, causing it to sink lower below the water line. This can trigger the fill valve to constantly fill the tank.
Furthermore, this assembly should be entirely replaced every 5 years regardless of its current condition.
This article shows the DIY steps on how to fix your leaky toilet at home with zero to minimal expense.
However, if you are unsure about what you are doing and which part of the toilet needs fixing, it is best to just call a professional to do the job.
This is a wise alternative to trying to fix it on your own with doubts that can later lead to more serious damage to your toilet and its filtration system.


