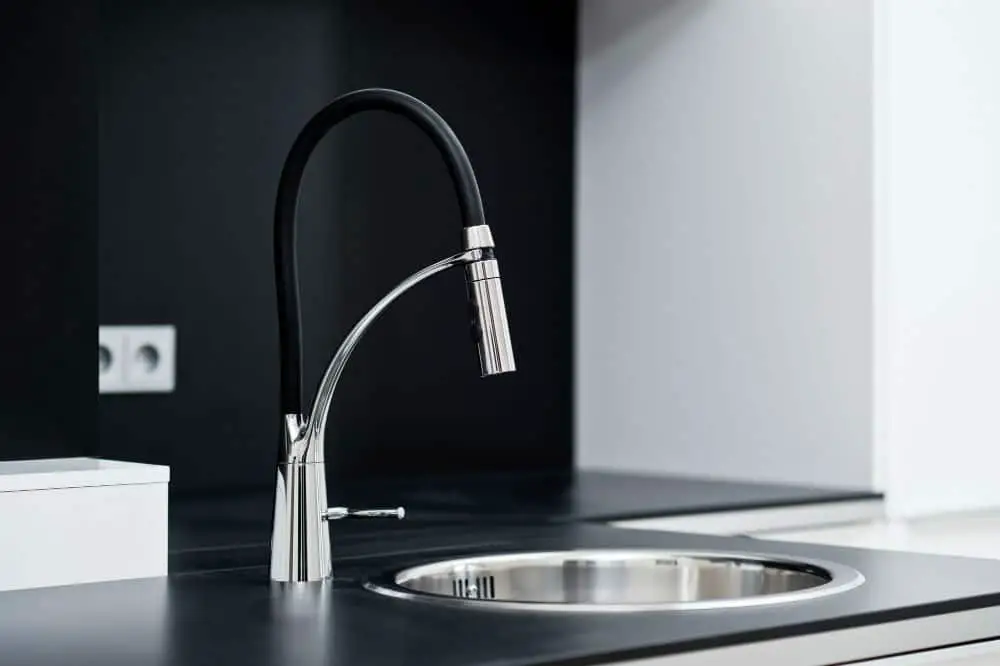
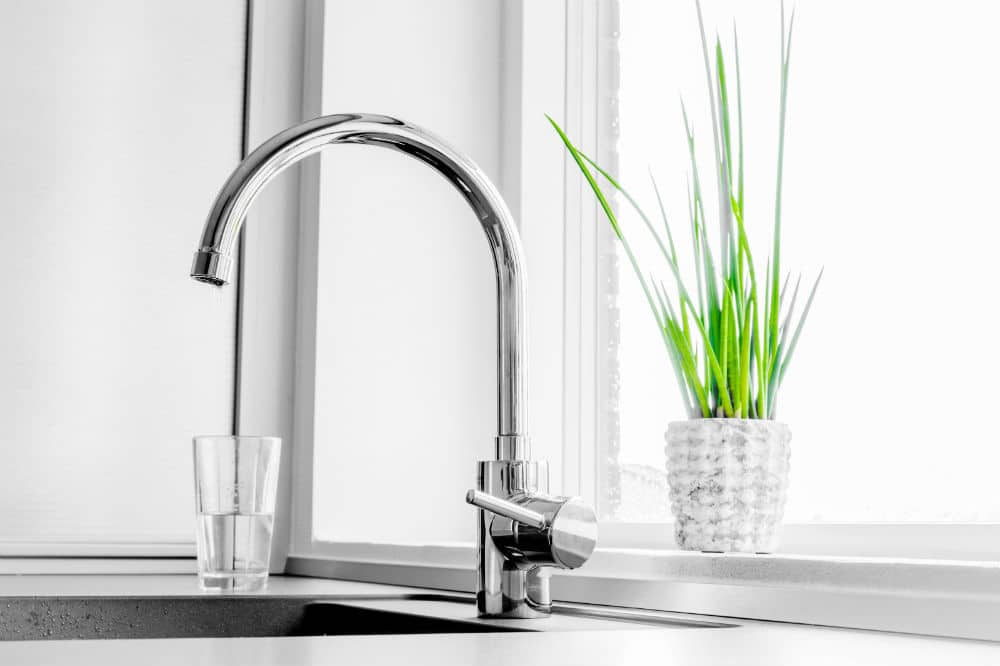
Are you planning on replacing your kitchen faucet? Whether that be because of a leak, or you simply want to upgrade the look of your kitchen, knowing how to install kitchen faucets is something every homeowner should learn.
In this guide, we will be providing you with a step-by-step guide to installing kitchen faucets. In this way, you won’t have to ask for a professional’s help to do it, saving you some money in the process.
To do this, you need to learn the best way it can be done, as well as gather the right tools needed for the job. The entire project can be finished in a few hours.
The Cost of Installing a Kitchen Faucet
The cost of installing a kitchen faucet varies widely. This will depend on the location, and the contractor hired to do the job. The cost can range between $100 to $190.
If the job entails replacing an old faucet with a new one, then it might be as much as $250 or even more, depending on whether the plumber needs to make adjustments to the water line or not.
Installing a faucet may seem like a simple task when looking from the surface. However, plumbers will make you understand that there may be more issues during the course of carrying out the task. One of the issues that may be encountered is dealing with a rusty faucet.
The older the faucet is, the more chances that it will be rusted in its place, thereby causing you to pay more for the installation of the new one.
Before Buying a New Faucet
Before you embark on shopping for a new kitchen faucet, if what you need to do is replace an old faucet in an existing sink, take a look under the sink to check the number of holes there. It is usually between one and four.
The type of faucet that will be needed will be dependent on the number of holes that you see under the sink. A one-hole faucet can easily fit into a three- or four-hole sink when a deck plate is added; however, the reverse does not hold.
To be sure, ask the guys from the store as to what kind of faucet and connections you need. Show them a photo of the pipes under your sink to give them an idea on how to help you choose the right kind of faucet.

How to Install Kitchen Faucets
Putting the cost of paying a plumber into consideration, then you might want to decide to install your faucet yourself without incurring the extra cost. It is now clear that there is no reason why you shouldn’t try this out yourself.
Tools and Materials Needed
Tools
- Basin wrench
- Small bucket
- Adjustable wrenches
Materials
- Kitchen faucet
- Silicone caulk
- Supply lines
Removing the Old Faucet
Removing the old faucet is not a difficult task, but you will need an extra hand to get this done. In doing this, you would also need the basin wrench.
Step 1: First thing first, make sure that the water valves under the sink are turned off. Then, turn on the faucet to relieve the pressure in the lines. Also, if it’s applicable, ensure that the power to the garbage disposal unit is also turned off.
Step 2: Before disconnecting anything, it is advisable to take a photo of the plumbing configuration. This is so that you can use it as a form of reference when you install the new faucet later.
Step 3: Now is when the small bucket comes in handy. Place the small bucket under the connections to collect water as the supply lines are disconnected.
Step 4: Have someone assist you in holding down the faucet from the top of the cabinet, while you use the basin wrench to remove the nuts holding the faucet.
Step 5: Lastly, remove the faucet as well as the sealant from the surface of the sink.
Installing the New Faucet
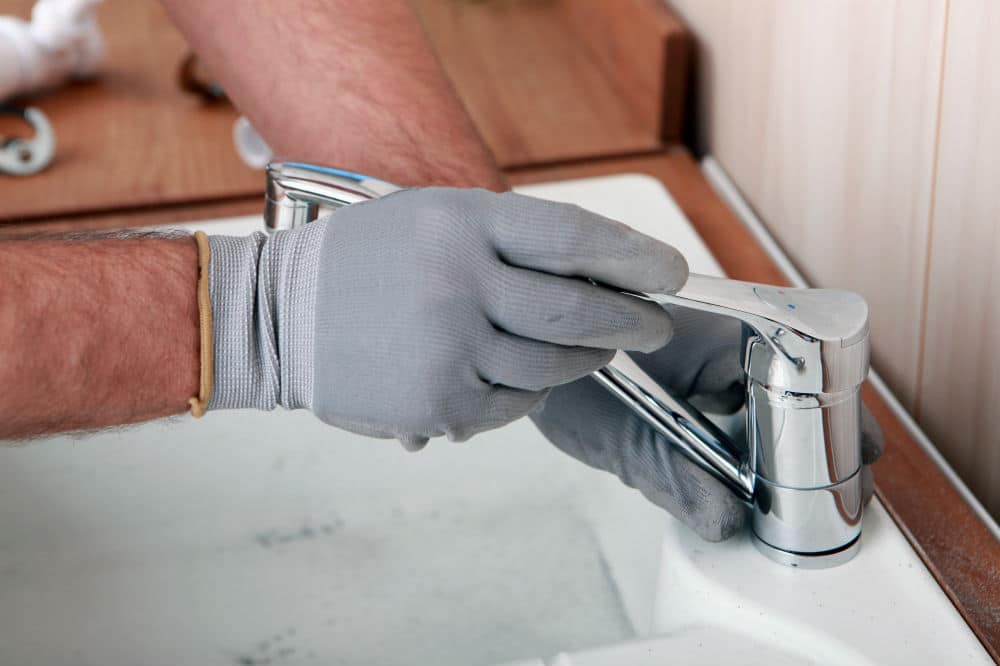
The next step to take after removing the old faucet is to install the new faucet. Before you proceed with this, it is important to note that faucets come in different styles and so you should refer to the installation manual from the manufacturer.
Step 1: Place the plastic or rubber gasket or the trim ring just over the faucet holes drilled in the sink before setting the deck plate. Once the deck plate has been set, you can then refer to the instructions in the manual concerning how to use the caulk in the installation of the gasket.
Step 2: By this time, the faucet lines should then be fed into the holes.
Step 3: The nuts and washers should now be installed under the sink. If you utilize caulk for the gasket installation, then you need to wipe off the excess from under the sink.
Step 4: If you are installing a pull-down faucet, the quick-connect hose should be attached to the supply pipe. Draw down the hose and then attach the weight. The weight requires clearance so it could hang freely right under the sink.
Step 5: The next thing to do is to connect the water supply lines. You can make use of plumber’s tape if possible.
Step 6: Rotate the valve so that they are in line with the supply tubes. The water should then be turned on slowly while checking for leaks. If there are any leaks, turn off the valve and tighten the nuts using the wrench.
Step 7: The aerator should then be removed from the faucet. After this, turn on the water slowly, allowing it to run, aerator-free, for some few minutes to clear the lines. Check all the previous jobs done for leaks and make the necessary readjustments.
Step 8: Switch off the faucet and then replace the aerator.
Now, you’ve successfully installed a kitchen faucet on your own. It was pretty easy, wasn’t it?
Conclusion
More often than not, the instructions on how to install kitchen faucets are written in the manufacturer’s manual, and just as stated earlier, it is not a difficult task to do.
If you are considering hiring a plumber to help you with the task, then you will be incurring some additional costs that could have been saved and used for other purposes. Give it a try, and you will understand how easy it is to achieve.

