A restroom or bathroom is never complete without a sink. Bathroom sinks help create an overall nice appearance for any toilet, powder room or bathroom. Plus, it’s where people wash their hands.
Fortunately, one does not need a contractor to install one. It can be done by anyone who is willing to use some tools and do some heavy lifting.
First-timers can even complete the task! Knowing how to install a bathroom sink can be learned easily. Here’s how.
Shop for the Sink

One will need to shop for a bathroom sink regardless if they are installing a brand new one or simply replacing an old sink. Shopping for the sink is probably the easiest step in installing one.
When choosing one, keep in mind your design choice for the bathroom or toilet. Nobody wants to install a sink that does not blend well with the rest of the bathroom fixtures.
- Wall-Mounted Sink
There are different kinds of sinks. First is the wall-mounted sink, which is the most common type. The wall-mounted one is great for those with limited space and powder rooms. Unfortunately, there is not much storage space for this kind of sink.
- Under-Counter Sink
The under-counter sink is another type and, as its name suggests, is mounted underneath a counter. It is held in place by clips and caulk. This kind is a bit more expensive than others.
- Pedestal Sink
On the other hand, the pedestal sink is a floor-mounted kind. Its hardware is covered by the extension of the sink’s material and looks like it has leg support. There is no storage space for this kind and is often used for barely used bathrooms.
- Semi-Pedestal Sink
The semi-pedestal sink is a mix between the pedestal and the wall-mounted sink. It has an extension that is covered by the same material sink. Its extension, however, does not reach the floor.
- Vessel Sink
The vessel sink is for bathrooms with a modern design. The sink is simply a basin or a vessel that sits on top of a counter.
- Vanity Sink
On the other hand, the vanity sink comes with either a cabinet vanity or a table. It is often used for big bathrooms as it boasts ample storage space.
Choose any of the sink types based on the available space, budget, and design of the bathroom.
Preparations for Installation
The Tools
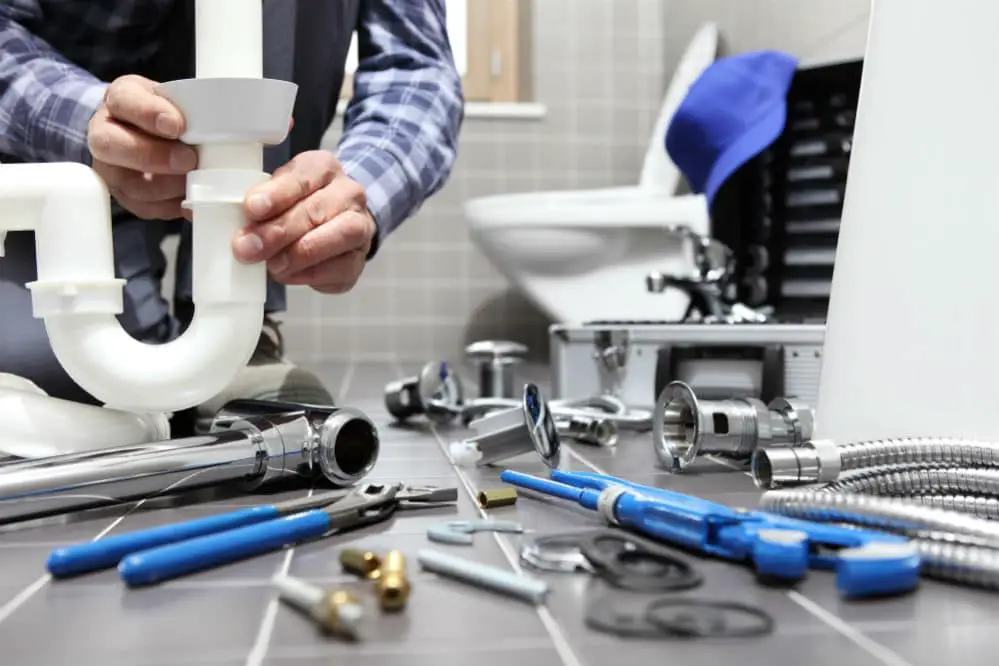
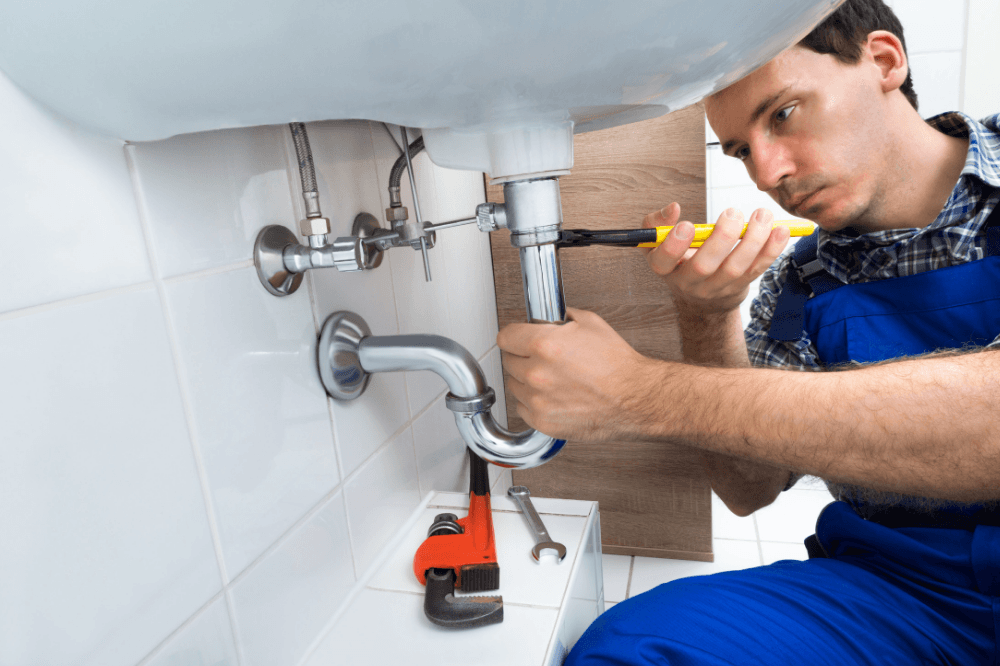
One cannot install the bathroom sink without the tools required such as a pipe wrench or slip-joint pliers. One would also need a basin wrench, silicone caulking and a set of plumbing sockets.
The Water Supply
Proceed to turn off the water supply in the bathroom. The water valves are usually located under the sink. It is essential to turn off the water supply before installing the new sink.
If there is no water valve found inside the bathroom, then turn off the main water supply. Turn on the faucet to check if you have turned off the water supply properly.
The Removal of the Old Sink
If you are replacing an old sink, then you would need to remove the existing one.
Grab either the crescent wrench or locking pliers to the drain lines and supply from the faucet. Do not fret if there is some water leaking out since this is normal.
Find the big nut connecting the drain to the sink and disconnect it. Now unscrew the nut with the locking pliers.
Slowly slide off the current sink by holding to its two ends. You may need to loosen up any of the caulk. Lift the sink and place it in a safe place.
How to Install a Bathroom Sink: Attaching the Unit
Step 1: Place the sink on its location and start caulking it. Grab the silicone and spread a thin layer at the new sink’s bottom lip. Now set the sink on the opening.
Step 2: Find the clips that came with the new sink as they are needed in anchoring the sink in its place. Clips vary in design, but they tend to act as a lever that holds the unit in place.
Make sure to read the manufacturer’s instructions on how to use the clips as they differ from one sink to another. Follow the recommended steps provided by the product maker when securing the clips to the sink.
Installing the Faucet
Step 3: Grab the faucet and begin the installation by screwing it into the sink. Keep in mind that faucets come in different designs. Most faucets are assembled by screwing them in a clockwise direction. Other faucets also have some rubber gasket in their base while others require a silicone sealant to attach it to the counter.
There are also times when you would need to assemble the faucet before the sink. This depends on the design of the fixtures and the counter. If you are installing the sink before the faucet, then ensure that you have the needed space for the faucet.
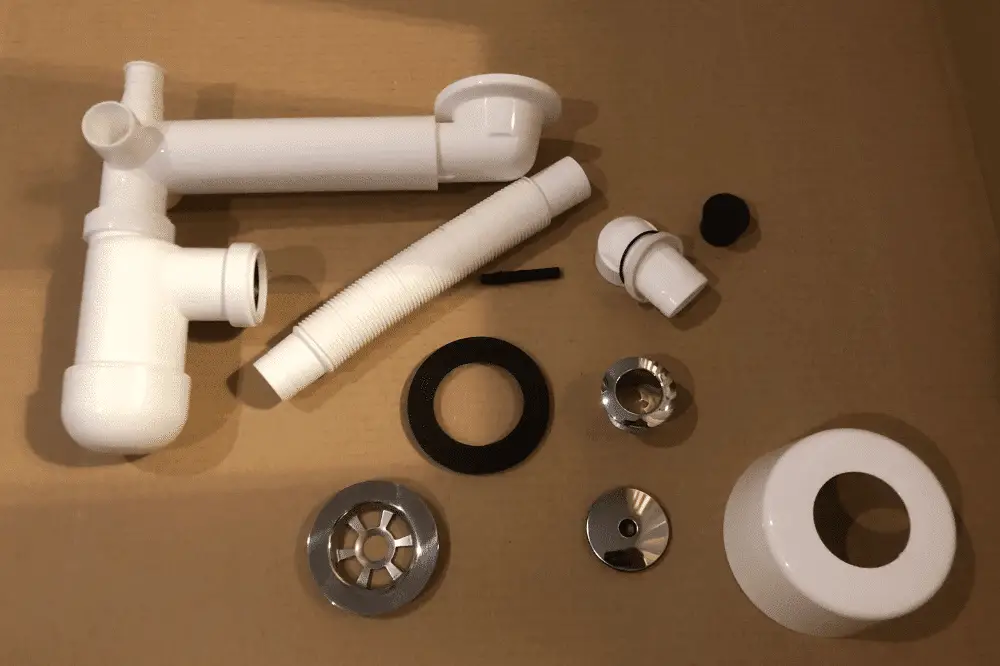
Installing the Drain Kit and The Tailpiece
Step 4: It’s time to take care of the drain kit and tailpiece. Simply drop the tailpiece through the sink, then screw on its nut at the bottom. Take note that many sinks come with gaskets that pass between the tailpiece and the sink. If this is not the case, then you can use some silicone sealant for the seal.
Install the cardboard washer and the gasket to secure the tailpiece.
Ensuring Water Supply
Step 5: Screw the water supply lines to the faucet. Just grab the water supply hose and connect it to the end of the faucet underneath the sink. Make sure there is no twisting of the water supply metal hose. You can secure the connection with the gasket that came with the faucet or using Teflon tape.
Sealing
Step 6: After installing the sink, the faucet and connecting to the water supply, then it’s time to finish the job. Simply place the silicone caulk on the parts where the basin meets the wall. Just fill any space with a thin spread of the silicone. You can now leave the bathroom sink for 24 hours before testing it.
Read also: How to Install Bidet Toilet Seat?
Easy Task
Knowing how to install a bathroom sink comes in handy when your old one needs to be replaced or if you are building a new home. Contrary to popular belief, you do not need to hire a plumber to do this task. Simply take the time to read the guide provided by the sink manufacturer, and you can install the new sink smoothly.