No one wants a leaky shower in their bathroom. It is not only annoying but also wastes money. This is why most people want to resolve this issue as soon as possible.
Fortunately, you don’t always need a plumber to fix this. Simply learning how to fix a leaky shower head on your own is what you need.
According to a recent survey by EPA, a leaky showerhead can waste up to 3,000 gallons a year. In fact, in total, leaks are responsible for the waste of one trillion gallons of water in the United States.
If your shower head is leaking, you can take a few simple steps that can help you fix the leak within minutes and help conserve water at the same time.
Looking for the Causes of Water Leak
Before anything else, you first want to look into the common causes of water leaks. Inspect the shower head to get an idea of what is causing the water leak. This is important to make sure you are not fixing something that is not broken, which is not only a waste of time but can also create more problem for you.
One of the common causes of leaks that you can fix on your own is mineral build-up in the holes. Another possible reason can be a loose grip of the shower head, which is mainly because the tape around the pipe threads dissolves with time, providing space for water to leak through.
Other than that, an issue with the water faucet can be another cause, such as a cracked rubber washer. The hard water deposits can be the cause here because they can clog the parts of the faucet. In many cases, inner seals get worn out with time.
Once you have identified the cause of the problem, you can then decide whether the problem is small enough that you can actually fix it on your own, or it is big enough that you would need to call a plumber.
How to Fix a Leaky Shower Head
If you decide to try your luck and solve the issue on your own, then here are a few simple steps you can follow to fix a leaky shower head:
- Start with the Simplest Solution
It is logical to start with the simplest of the solutions and then look for the other more complex causes. In most cases, you can turn the water supply off by turning the shower knob.
The first thing you need to check is the clogged holes as it is a common cause of leaky showerheads. In areas where the water is heavy or where the water contains a lot of minerals, the heavy minerals build up in the holes and clog it. Once you turn the shower off, the water will stop dripping from the clogged holes.
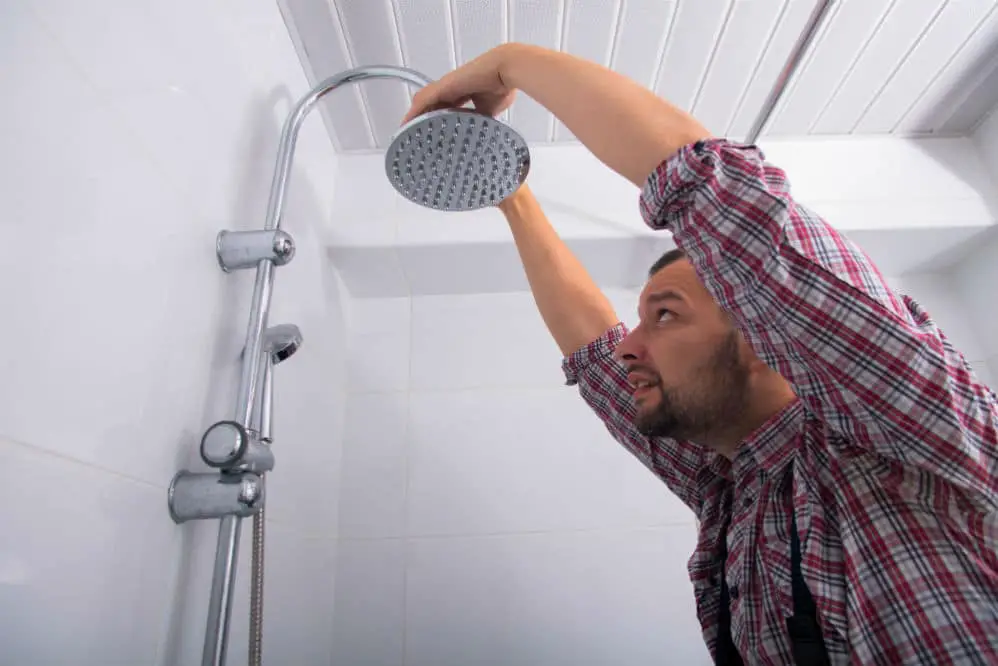
- Remove the Shower Head
To do this, you can either remove the entire shower head or just the faceplate. However, it depends on the shower head you have. Some showers heads come with removable faceplates while others don’t.
If it has a faceplate, just rotate it anti-clockwise to unscrew it. If the shower head comes without the faceplate, remove the entire showerhead. For this, you need to unscrew it using an adjustable wrench.
- Unclog the Holes
Once you have unattached the shower head or the faceplate, soak it in white vinegar for at least eight hours. You can also follow this process if you feel that the water flow decreases due to the clogged holes.
Just pour white vinegar into the large container in which you can dip the entire shower head. You can also add some coarse salt to the container. The vinegar penetrates through the mineral build-up in eight hours and unclogs the holes.
After eight hours, use the toothpick or any other thin stick to unclog the holes manually. You can then scrub it with a plastic brush before putting the shower head back.
Now, you can reattach the shower head to the pipe. Do not turn the shower on to check if there is still a leak. If it continues to leak then, unfortunately, clogging is not the reason for the leak.
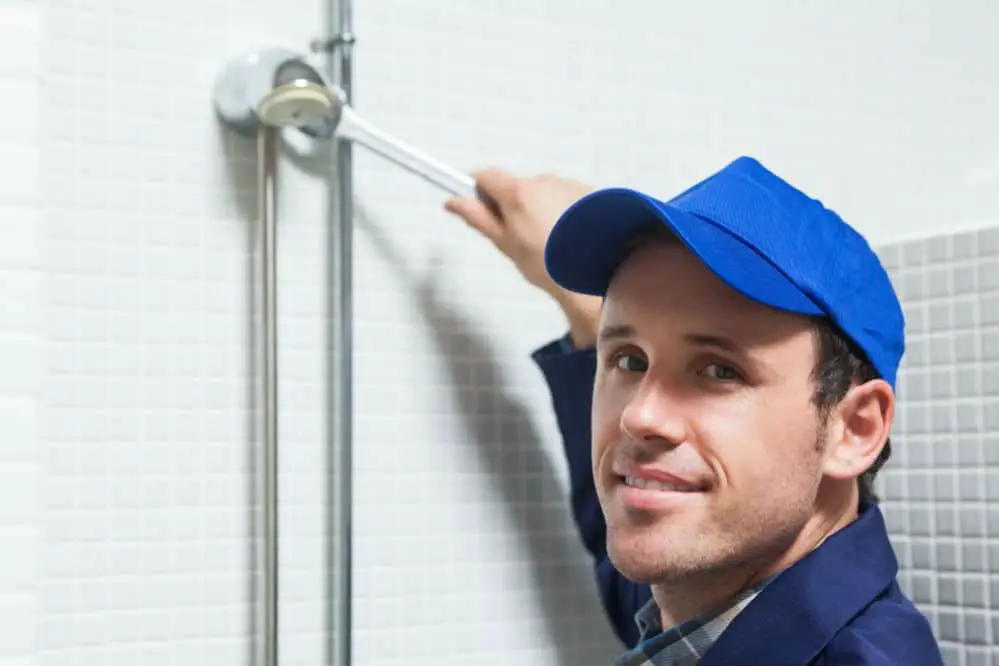
- Add a Layer of Teflon Tape
When fixing the shower head back, you can also replace the old tape around the pipe threads with the new Teflon tape. Sometimes, the tape dissolves and allows water to leak through. Adding new tape to the pipe thread can strengthen the grip and stop the leaks.
If that didn’t work and the water still leaks, the problem is something else. For this, try the following step.
- Replace the Cracked Washer
Now, this is where things get more technical. To resolve this issue, you need to turn off the main water supply to your home or at least to your washroom.
In many cases, the washer, also commonly known as the “O ring,” cracks with time, allowing the water to seep through. In that case, you need to replace the washer. Here is how you can do it:
- First, you need to determine which valve you need to work on if you have separate cold and hot water valves. You also need to determine if you need to replace the washer from the faucet or the showerhead.
- In case of a compression faucet, you need to replace the washer in the faucet. If you have a single-handle faucet though, it is more likely that the washer inside the shower head needs replacement.
- To replace the washer from the showerhead, remove the showerhead from the shower arm, and locate the rubber washer that is placed beneath the showerhead swivel ball. It is the ball that connects with the shower arm and allows the shower head to move in different directions.
- After locating the rubber washer, just pull it off with your fingers and insert a newer one of the same size. Make sure that the rubber washer is for the same shower head. Check it carefully for size, thickness, and style.
- Put the shower head back, and see if there is any leak.
If you have followed all of the above steps and checked your shower head for clogged holes, leaky tape, and now replaced the cracked washer, the chances are, there will be no more leak.
Then again, if the issue persists, then the problem may be more complicated than what you initially thought. In this case, you may need a plumber.
For example, a malfunctioning diverter valve can be a problem, or the cartridge valve can be the cause as well. These are far more complicated tasks for people with no plumbing experience.
Final Words
So, do you now know how to fix a leaky shower head on your own? In most cases, fixing a leaky showerhead is an easy task. You don’t always have to buy a new showerhead or call a plumber to fix the leaks as the solution is sometimes very simple.
However, there can be various reasons for the leaks, some that you can fix on your own, and others that need a professional’s help. In some cases, such as a cracked shower head, you also need to replace the shower head. So, it is important to identify if it is something you can actually do without creating a mess.