So, you have decided to change your old showerhead with a new one.
Once you have found the right make and model for you, the next thing to do is to learn how to change a showerhead. Lucky for you, you have us to help you out.
Would you need to call a plumber? Do you need a toolkit? How long will it take? Stop worrying; you probably need none of the above.
All it would take is a few minutes of your time. If you have do-it-yourself skills and can-do attitude, the rest is easy.
Don’t believe us? Well, then, read ahead!
How to Change a Shower Head
Replacing a shower head is an easy task, especially if you know the correct steps to do it. More often than not, you won’t need to call a plumber. In fact, paying a plumber to do it for you may actually cost more than the actual product.
Luckily, major showerhead brands understand this need, which is why they designed their products in such a manner that it can be installed easily by anyone. Some models even come with its own detailed installation guide as well as the accessories and tools needed.
What You’ll Need
Some people believe that they need a toolbox to fix a shower head, but this is also not true in most cases. For most of the products out there, you only need two tools with you:
- An adjustable wrench, which is commonly available in homes
- Teflon tape or plumber’s tape
If you have these two tools with you, you can begin with the installation. In fact, for some new models, you can just use your hands to tighten the grip.
So, let’s get into more detail about how to change a showerhead.
The Process
- Choose a Shower Head
First, you need to choose the showerhead that will replace your old one. There are a lot of designs available, from high-pressure to low-flow showerheads. There are also shower heads that come with multiple settings.
If you want to save water, we recommend you buy a low-flow showerhead. Some latest models can even produce a high-pressure water stream with low-flow rate, so you don’t always have to sacrifice water pressure if you are buying a low-flow one.
Similarly, if the water in your area contains a lot of minerals, you may want a shower head with filters or at least one that features a self-cleaning mechanism. These prevent mineral build-up.
- Out with the Old…
The next step is to remove the old showerhead, which won’t be an issue if you have a wrench with you. Before you do this, make sure that the shower knobs are turned off and secured tightly. This will help keep you dry while you work on the installation. Some people are so careful that they even shut off the water supply, which, in this case, is not really required.
So, how can you remove an old showerhead? Open your wrench wide enough to grip the notch of the showerhead. To loosen it up, rotate it anti-clockwise a couple of times. In most cases, a wrench is more than enough to loosen the old shower head.
In case you are unable to do it, don’t apply extra pressure. This is extremely rare, but if this happens, it is better to seek help from plumber instead of putting pressure and breaking the pipe.
- Clean the Interior
After rotating the wrench couple of times, you can unscrew the shower head with your hands. Once you have removed it, make sure to wash the interior of the pipe. In the case of the old showerhead, you may notice a lot of dirt, mineral build-up, old Teflon tape around the pipe, and remainder of rubber gaskets.
It is also recommended to put a blanket or towel on the shower floor before cleaning the interior. This will prevent these materials and old shower head bits from penetrating into the shower drain. To make sure your new shower head places tightly on the pipe, you need to remove all these leftovers completely.
- Use the Teflon Tape
Before installing the showerhead, you need to wrap the threads of the pipe for a stronger grip. This is why you have the Teflon tape with you. Wrap the threads for at least a couple of times with the tape.
Don’t overuse it, just enough to develop a stronger grip and to stop leaks. As the tape is not as sticky as other commonly available tapes, you may need to use your finger to push them hard on the threads.
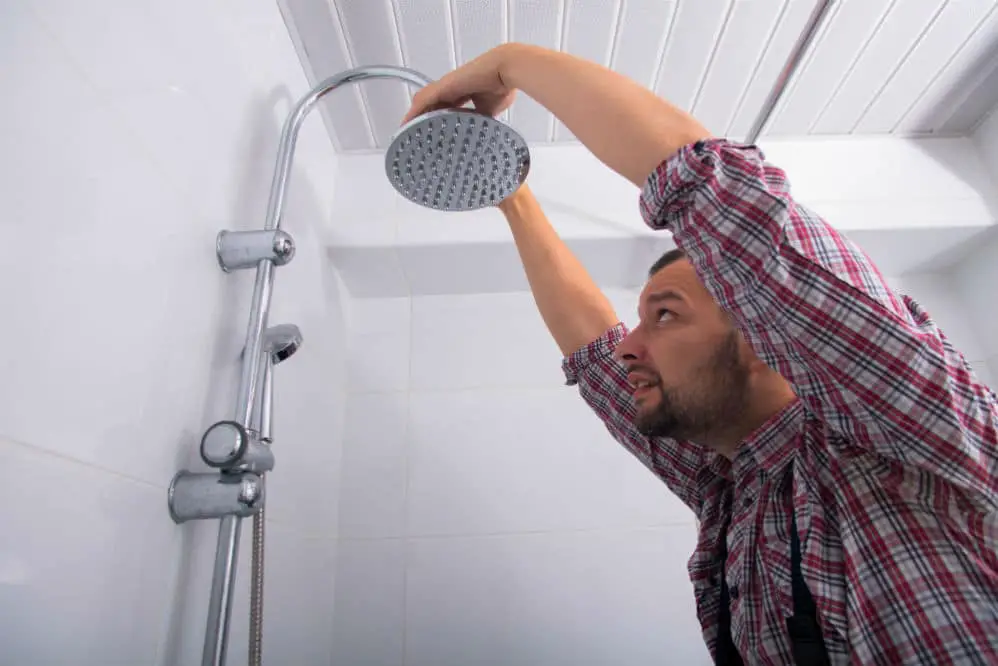
- …In with the New!
Even though the shower heads come in different designs and shapes, they can all easily fit to your old pipe or shower arm as they all use a standard size. In many newer models that are made of ABS plastic, you don’t even have to use a wrench. You can easily tighten the shower head with your hand by rotating it clockwise.
The use of a wrench and exerting extra force can crack the showerhead if it is made of plastic. Even if the instructions ask you to use a wrench, don’t over-tighten it, and don’t use extra force.
Even if you want to grip the shower arm with a wrench or plier, it would be better to wrap it first with a cloth and use the wrench onto the cloth. You don’t want to buy another showerhead after just one day, right? So, be careful with the use of wrench when tightening your new shower head.
- Test It!
To check for leaks and if you have placed it correctly, turn the shower on. Look carefully around the seal for leaks. If it is not visible to the eyes, use your fingers to see if there is any water on the seal. The chances are, there will be no leaks.
In case there is a leak though, just tighten it again and repeat the process. In some cases, you may have to use some more Teflon tape as well.
Final Words
Now, isn’t changing a showerhead a painless and straightforward process? Yes, it is. This is why you don’t need a plumber or a large toolkit to do it. You can just use your hands for most of the modern plastic showerheads. All in all, it will take just a couple of minutes to change a new shower head.